
Swedish Tomte
/I am in the process of moving some things over to this blog from a very old blog of mine. These are photos of some of my past work. Their hair and beards are all made of Llama fleece.
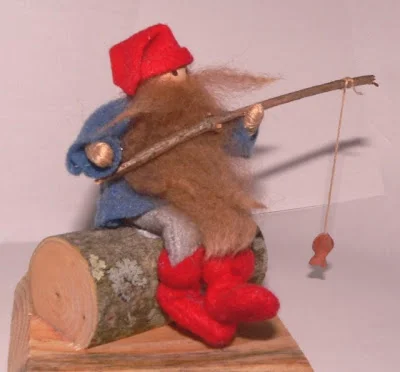
Fishing Tomte, approx. 5" tall. (SOLD)
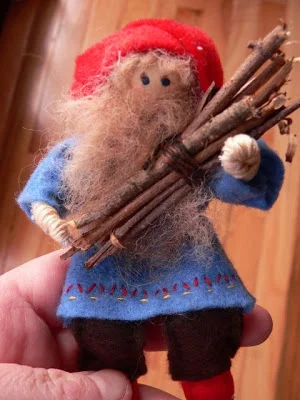
Tomte with bundle of wood (SOLD)
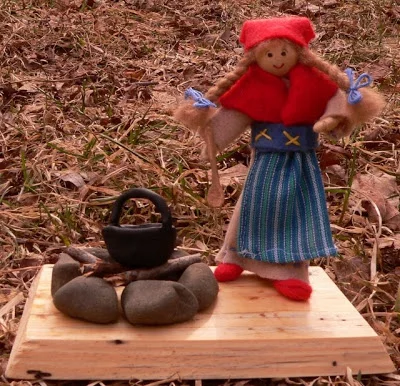
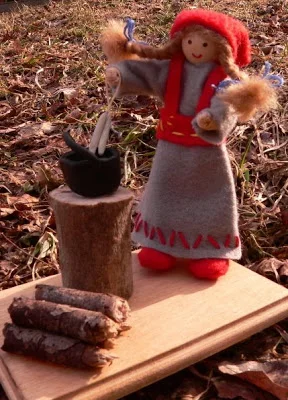
Swedish girl cooking on fire (SOLD)
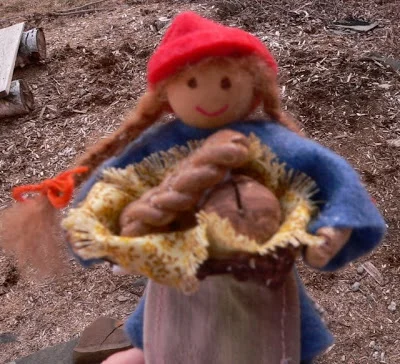
Swedish tomte girl with basket of traditional Swedish breads (Cardamon braid and Limpa) (SOLD)
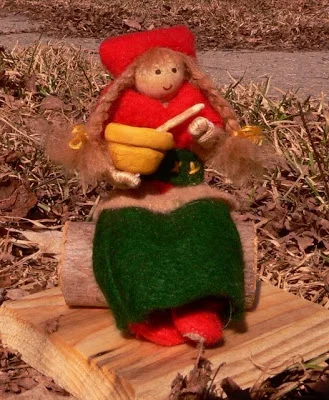
Swedish girl with mixing bowl (SOLD)
Candle Dipping Swedish Girl (SOLD
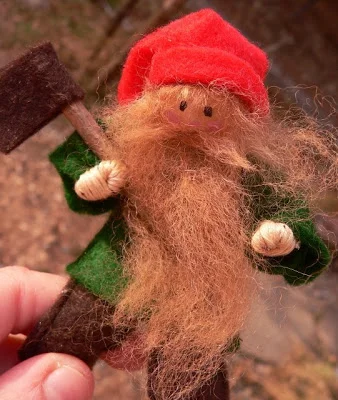
Tomte with ax (SOLD)
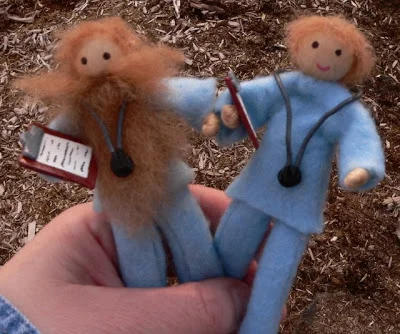
Here is a photo of two I recently did for a special order. They were ordered by a male nurse to add to his collection. (SOLD)
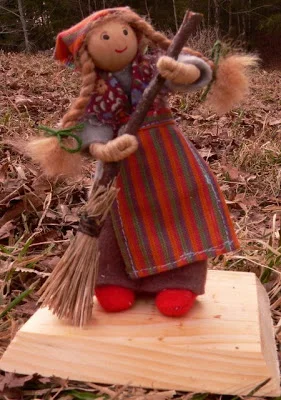
Swedish Girl with Broom, approx. 5" tall (SOLD)