

Make Your Own Paperwhite Bulb Kit - Win One Too!
/There is a give-away at the end of this post to win one of these lovely Paperwhite bulb Kits. There is also a link to a PDF of the tags for these gifts. Enjoy.
Twice a month a bunch of us ladies (both older and younger) get together. We share from Scripture and have bit of devotional time and then we get down to some serious creating! Last nights projects turned out BEAUTIFUL!!!
With Christmas fast approaching I planned the project to be something which could double as a gift. We made Paperwhite Bulb Kits.

To make these here's what you will need:
- Plain terra cotta pots (I paid about $1 each for mine at Home Depot)
- Acrylic Paints
- Misc. papers to cut up if you want to use any of the images such as magazines, wrapping paper, etc.(greeting cards may be too thick).
- Glue (regular old Elmers or school glue)
- Paint Brushes
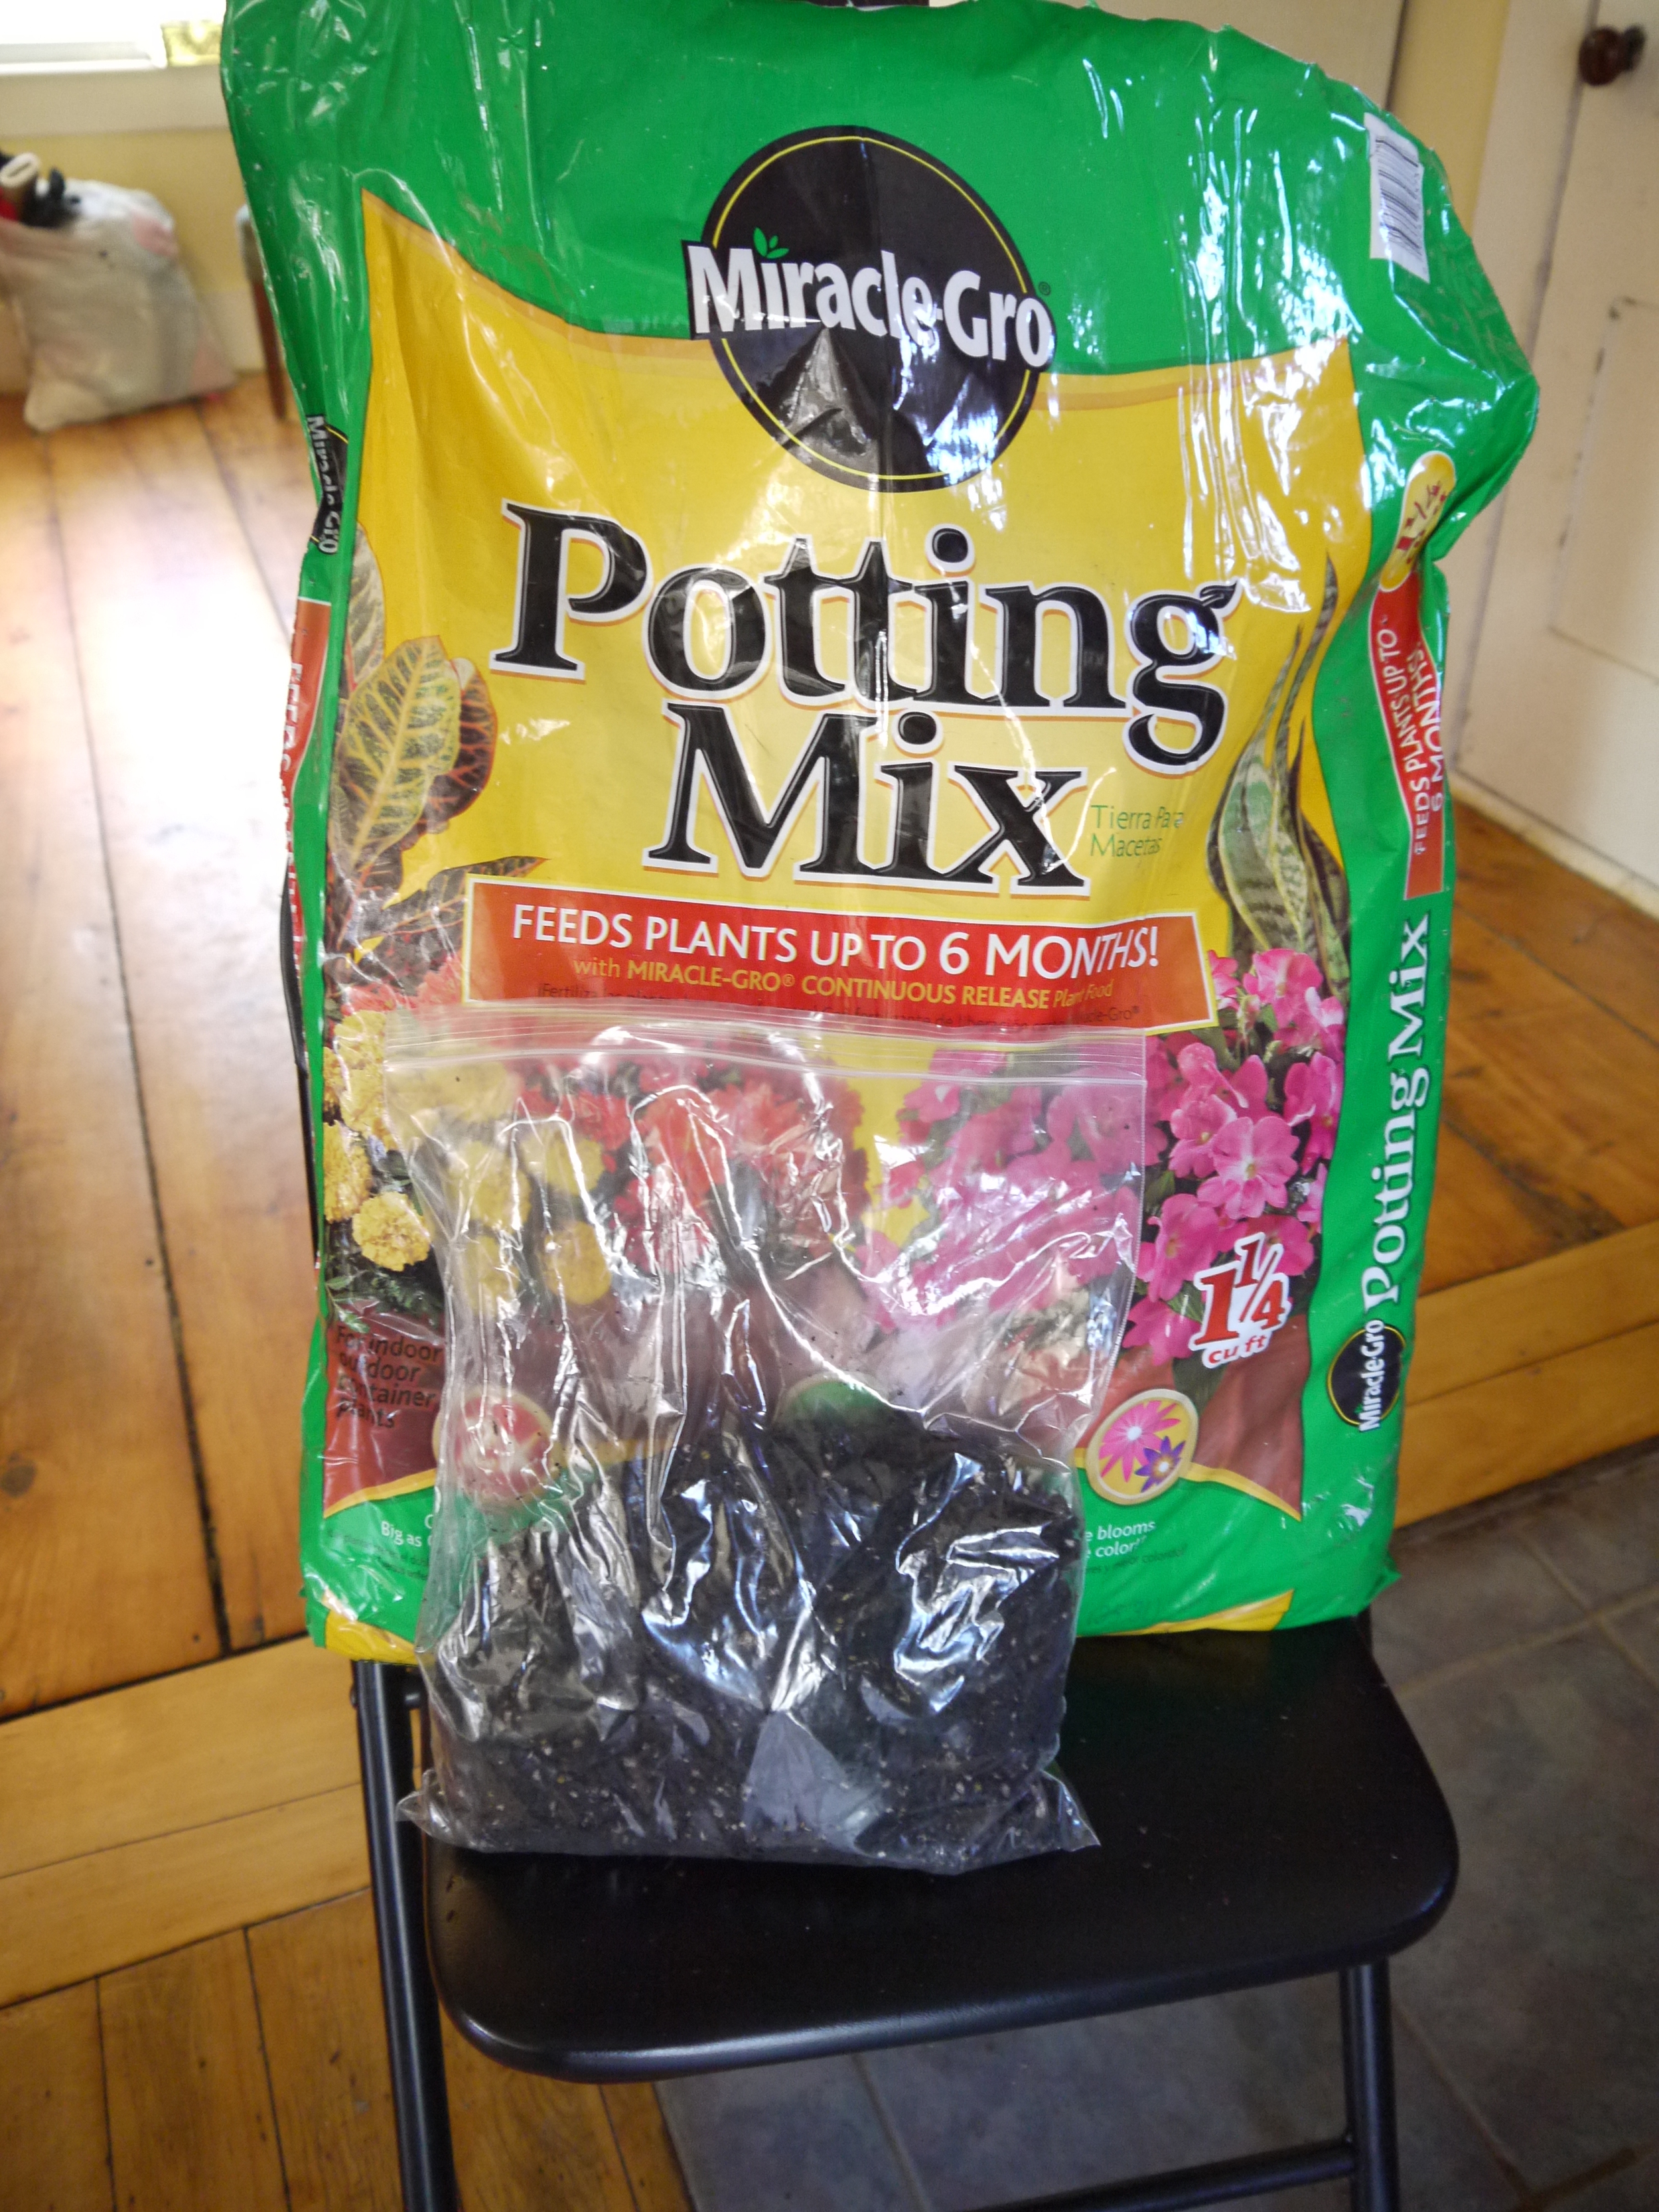
- Potting Soil and bags to put it in
- Bag of Paperwhite (Narcissus) Bulbs and smaller bags to put them in. The regular price on these was $14.98 for 15 bulbs but they were on 50% off clearance at Home Depot, it's late in the season for bulbs so you might be able to find them discounted at your local store as well).
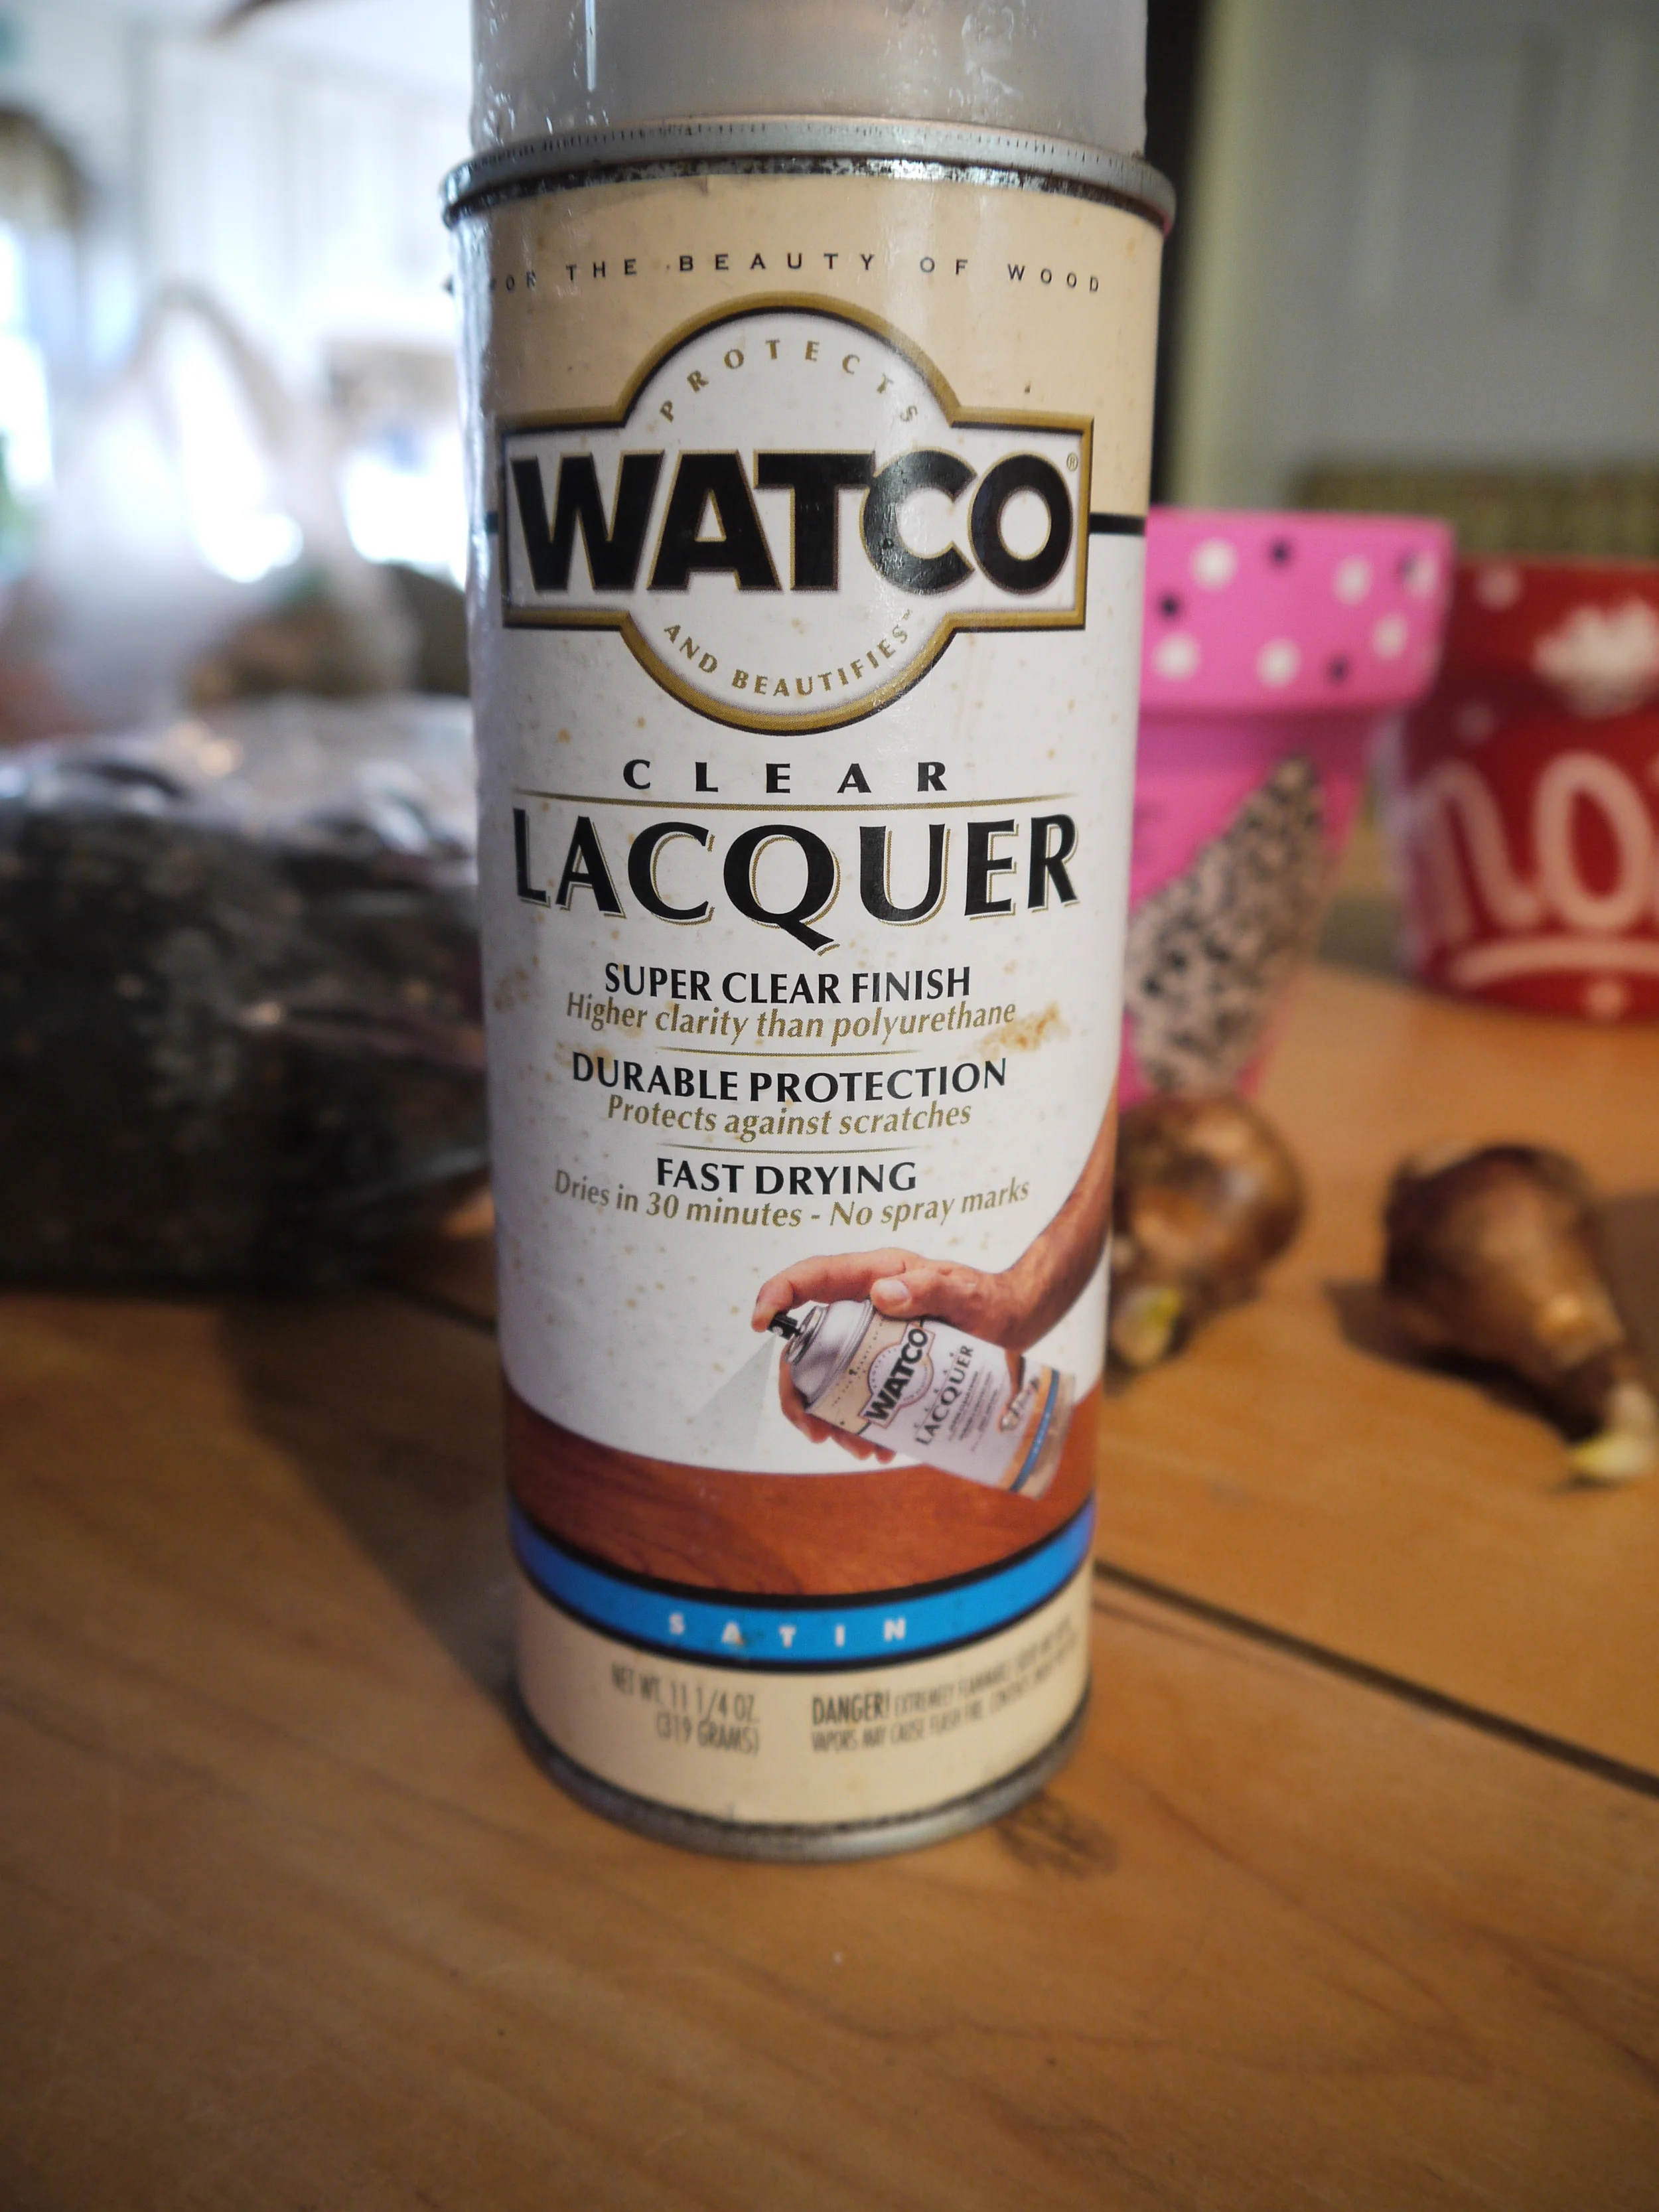
- Lacquer or other sealer (I used a spray, quick drying lacquer)
- Cellophane to wrap it all up or a gift bag to put it in and, ribbon
First, paint the pots with a coat of acrylic paint. You can either paint the entire pot one color or paint the top rim a second color or even paint stripes, whatever you wish.
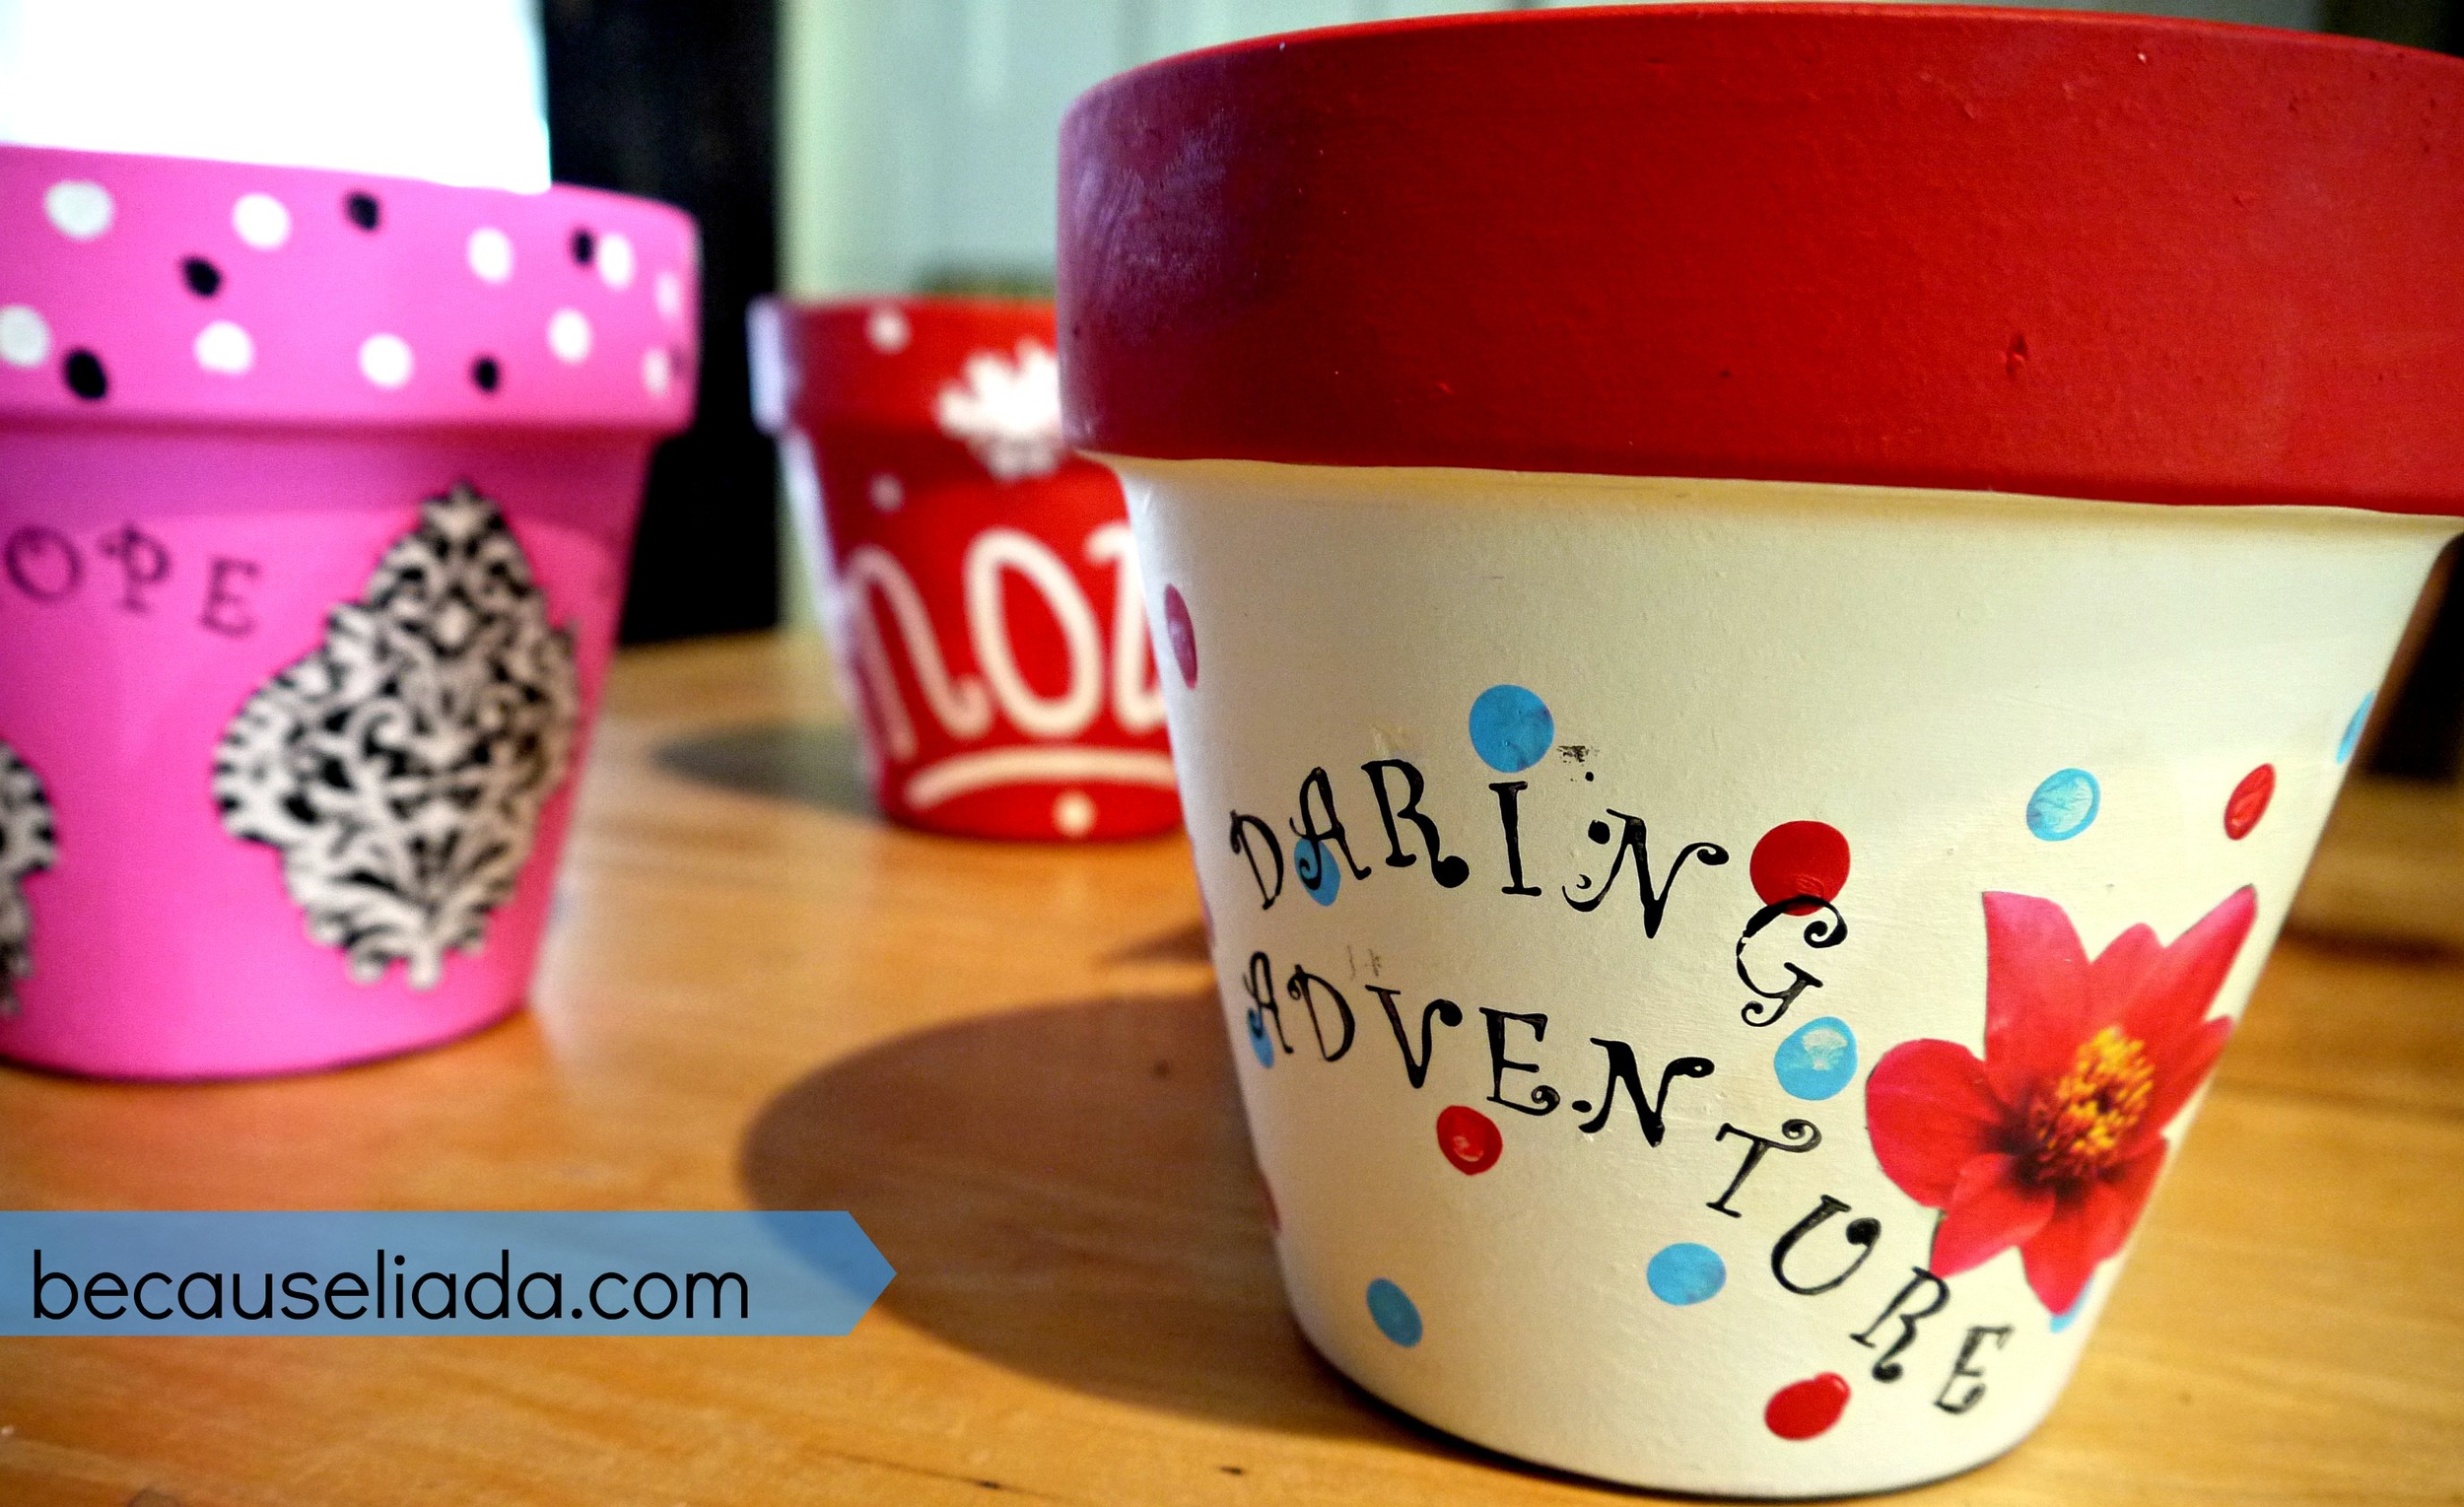
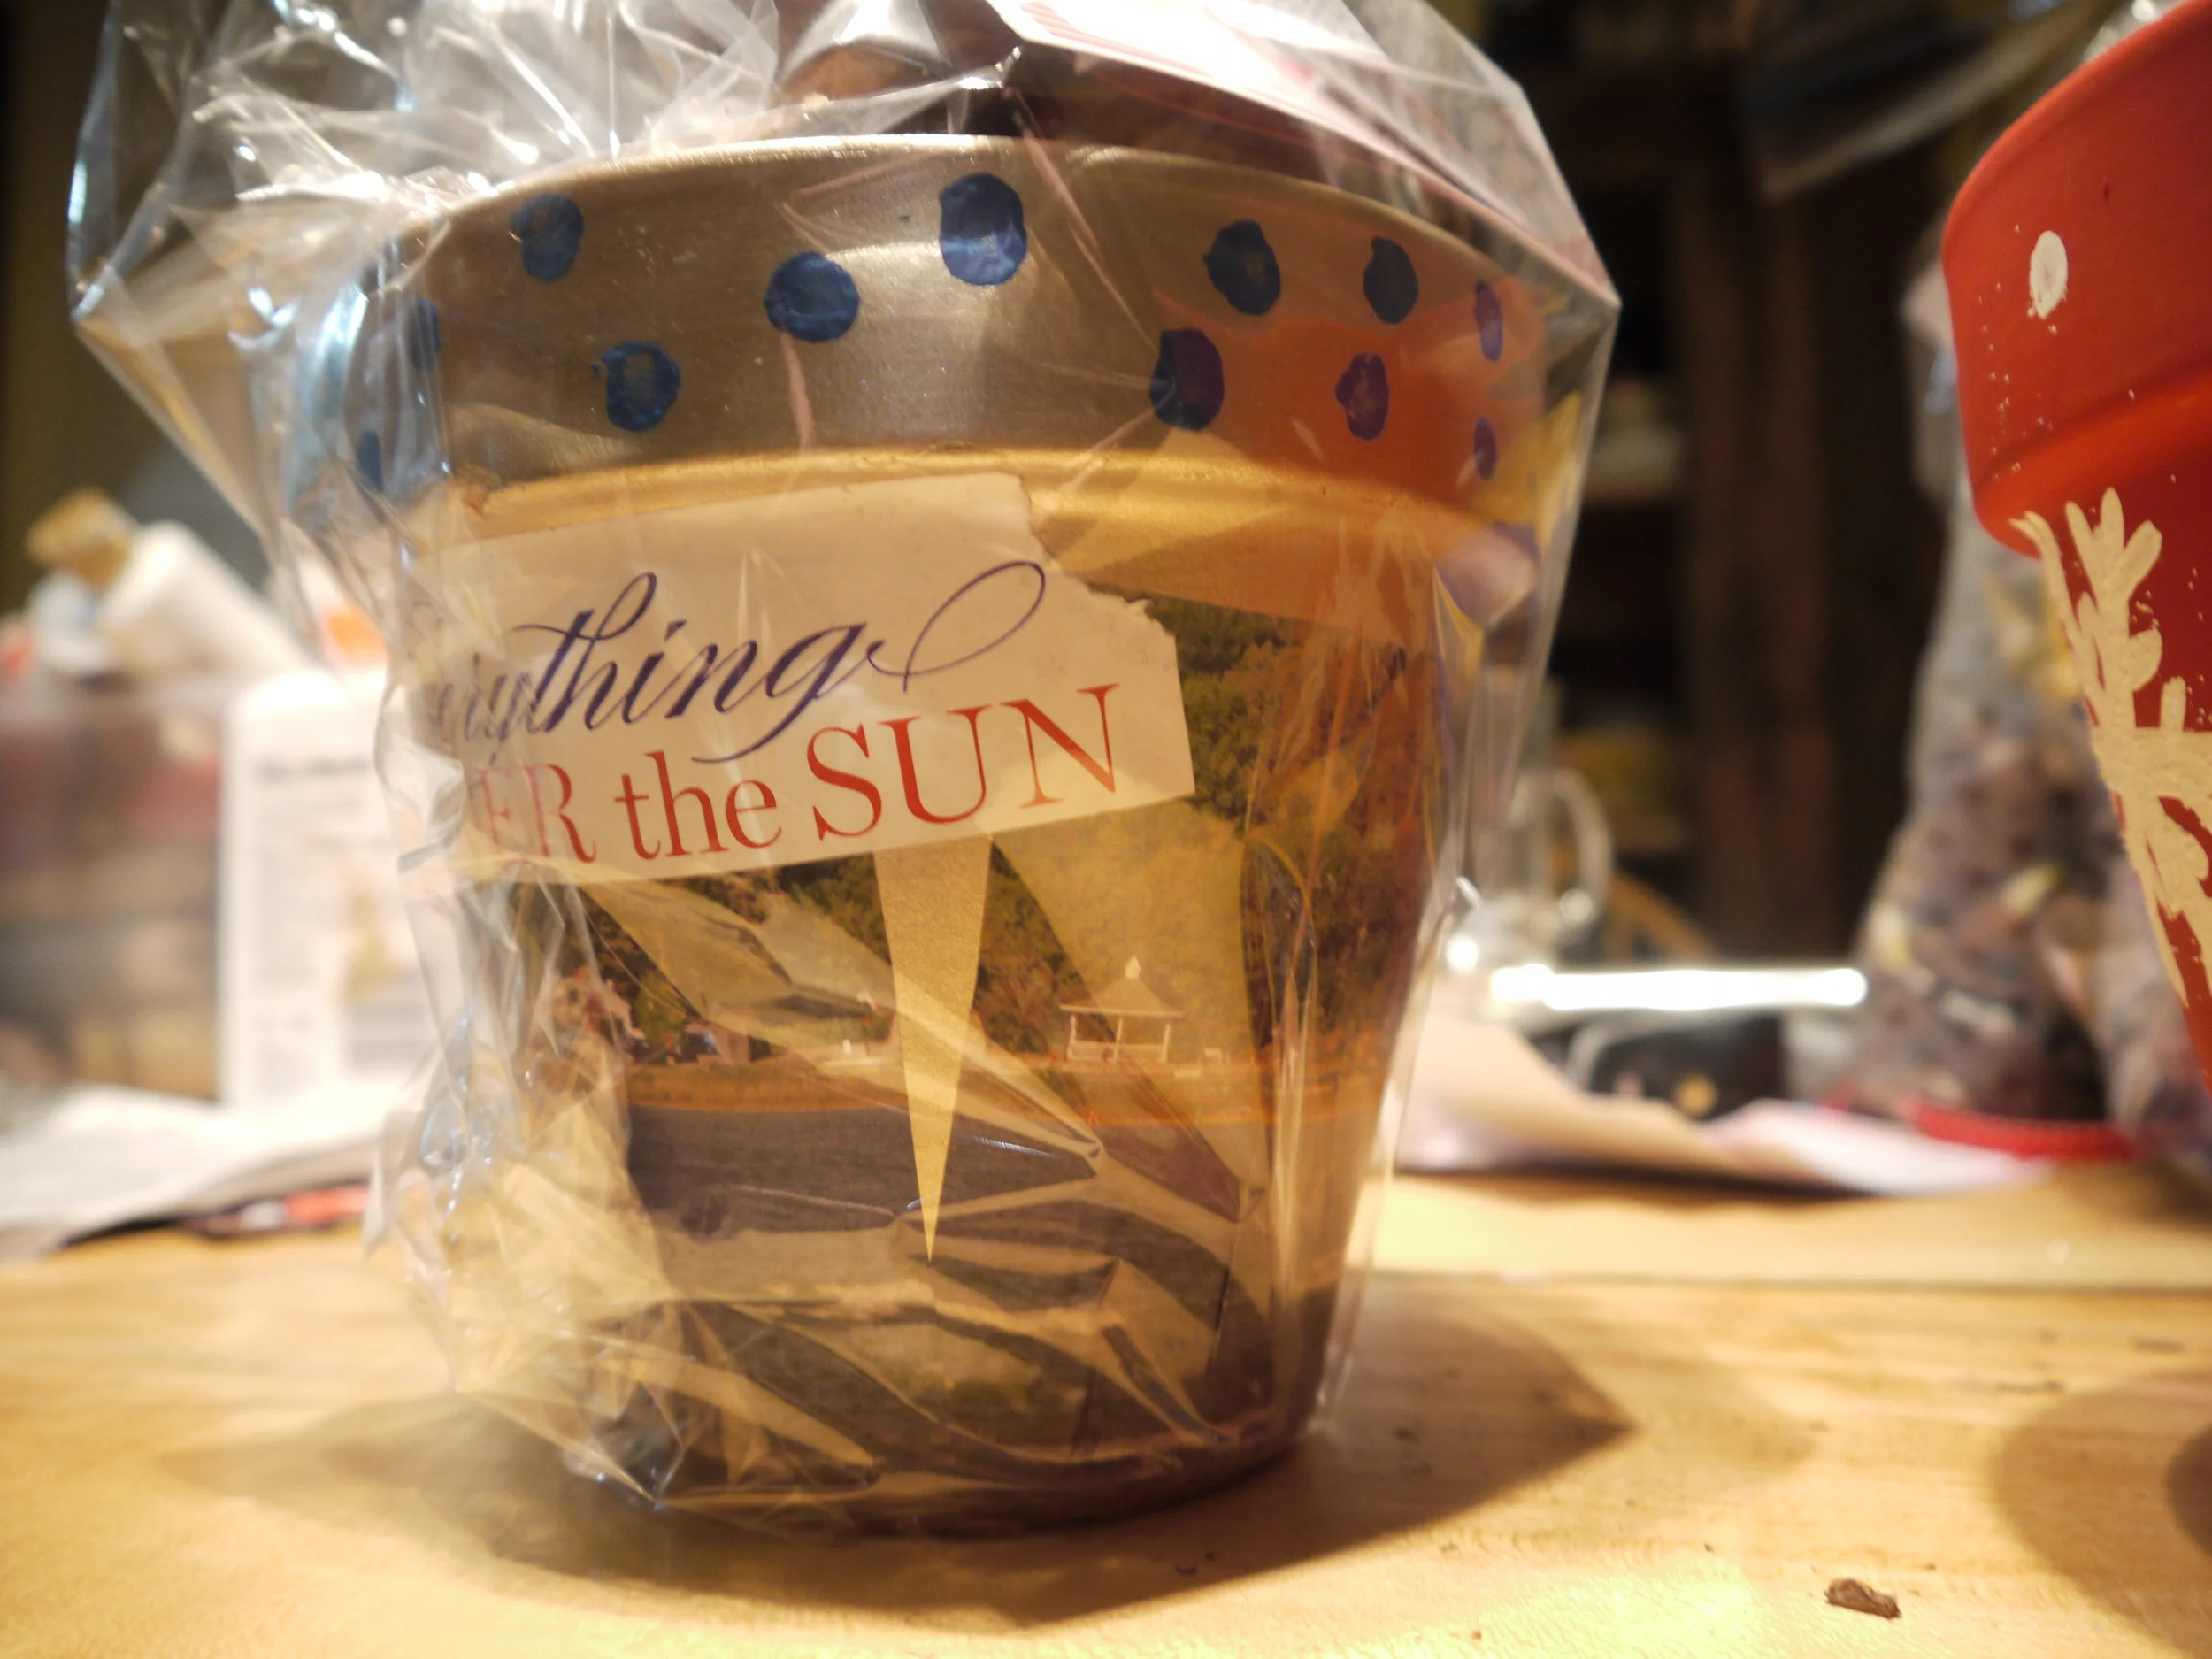
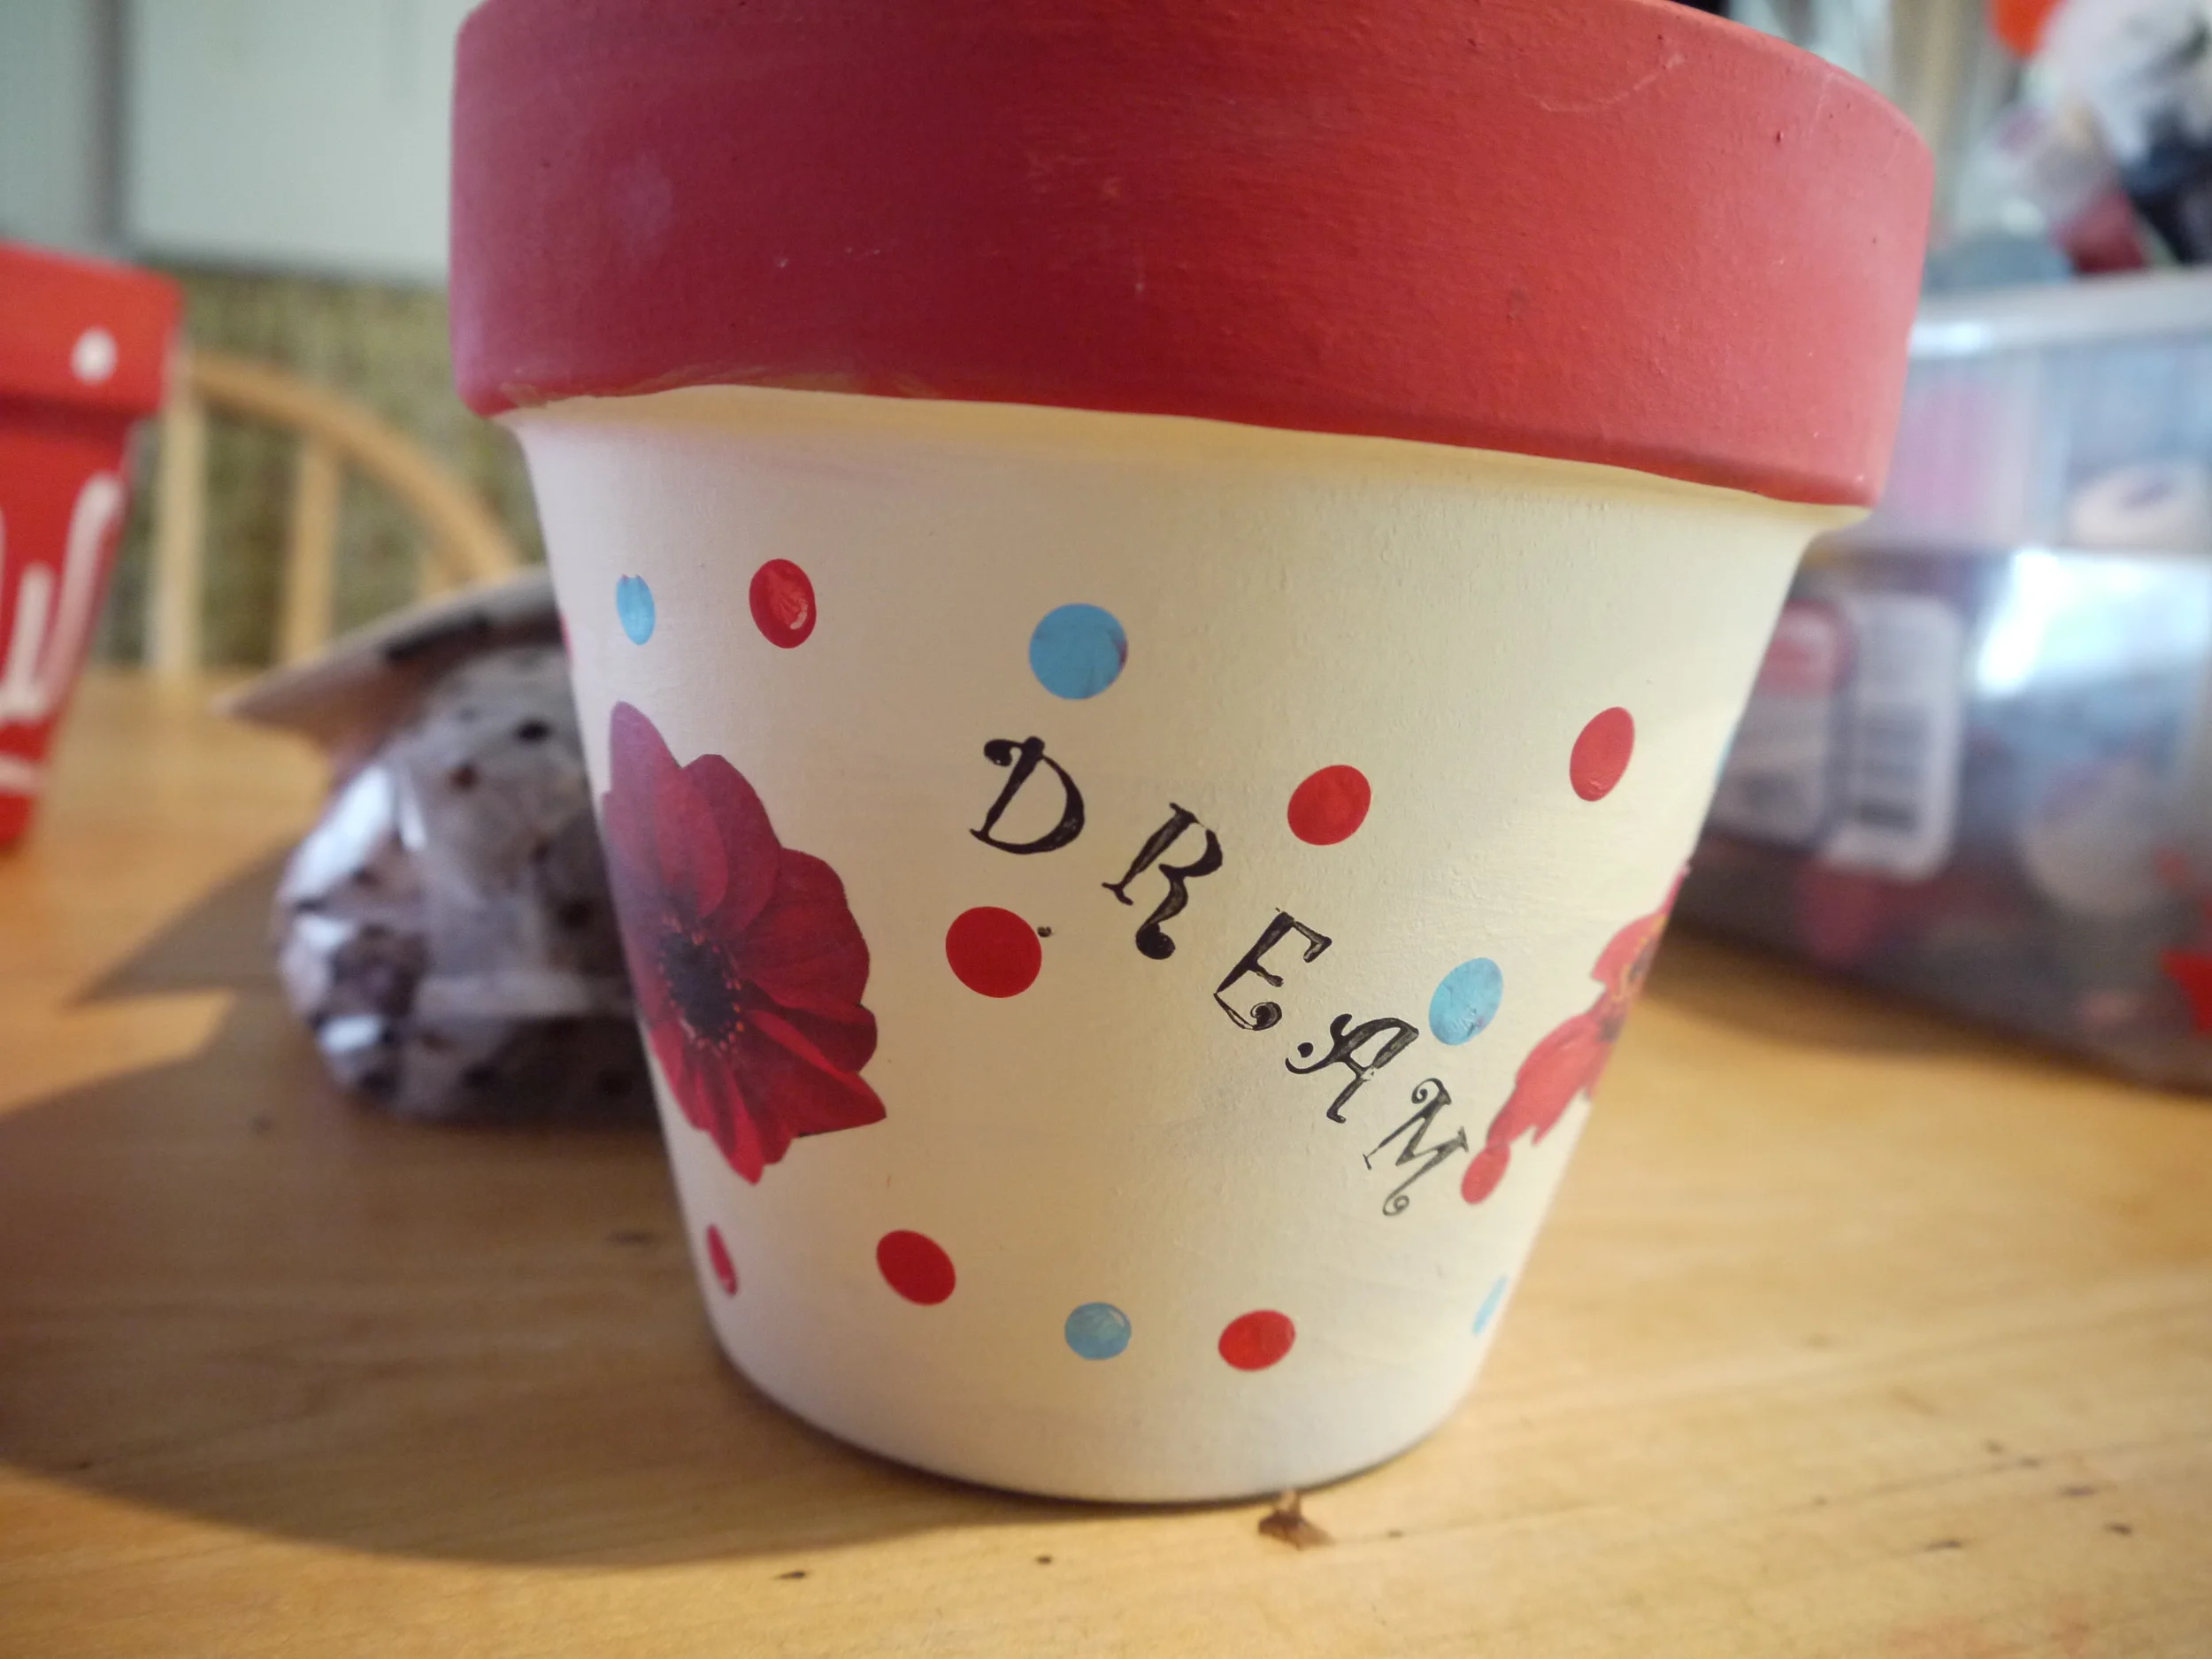
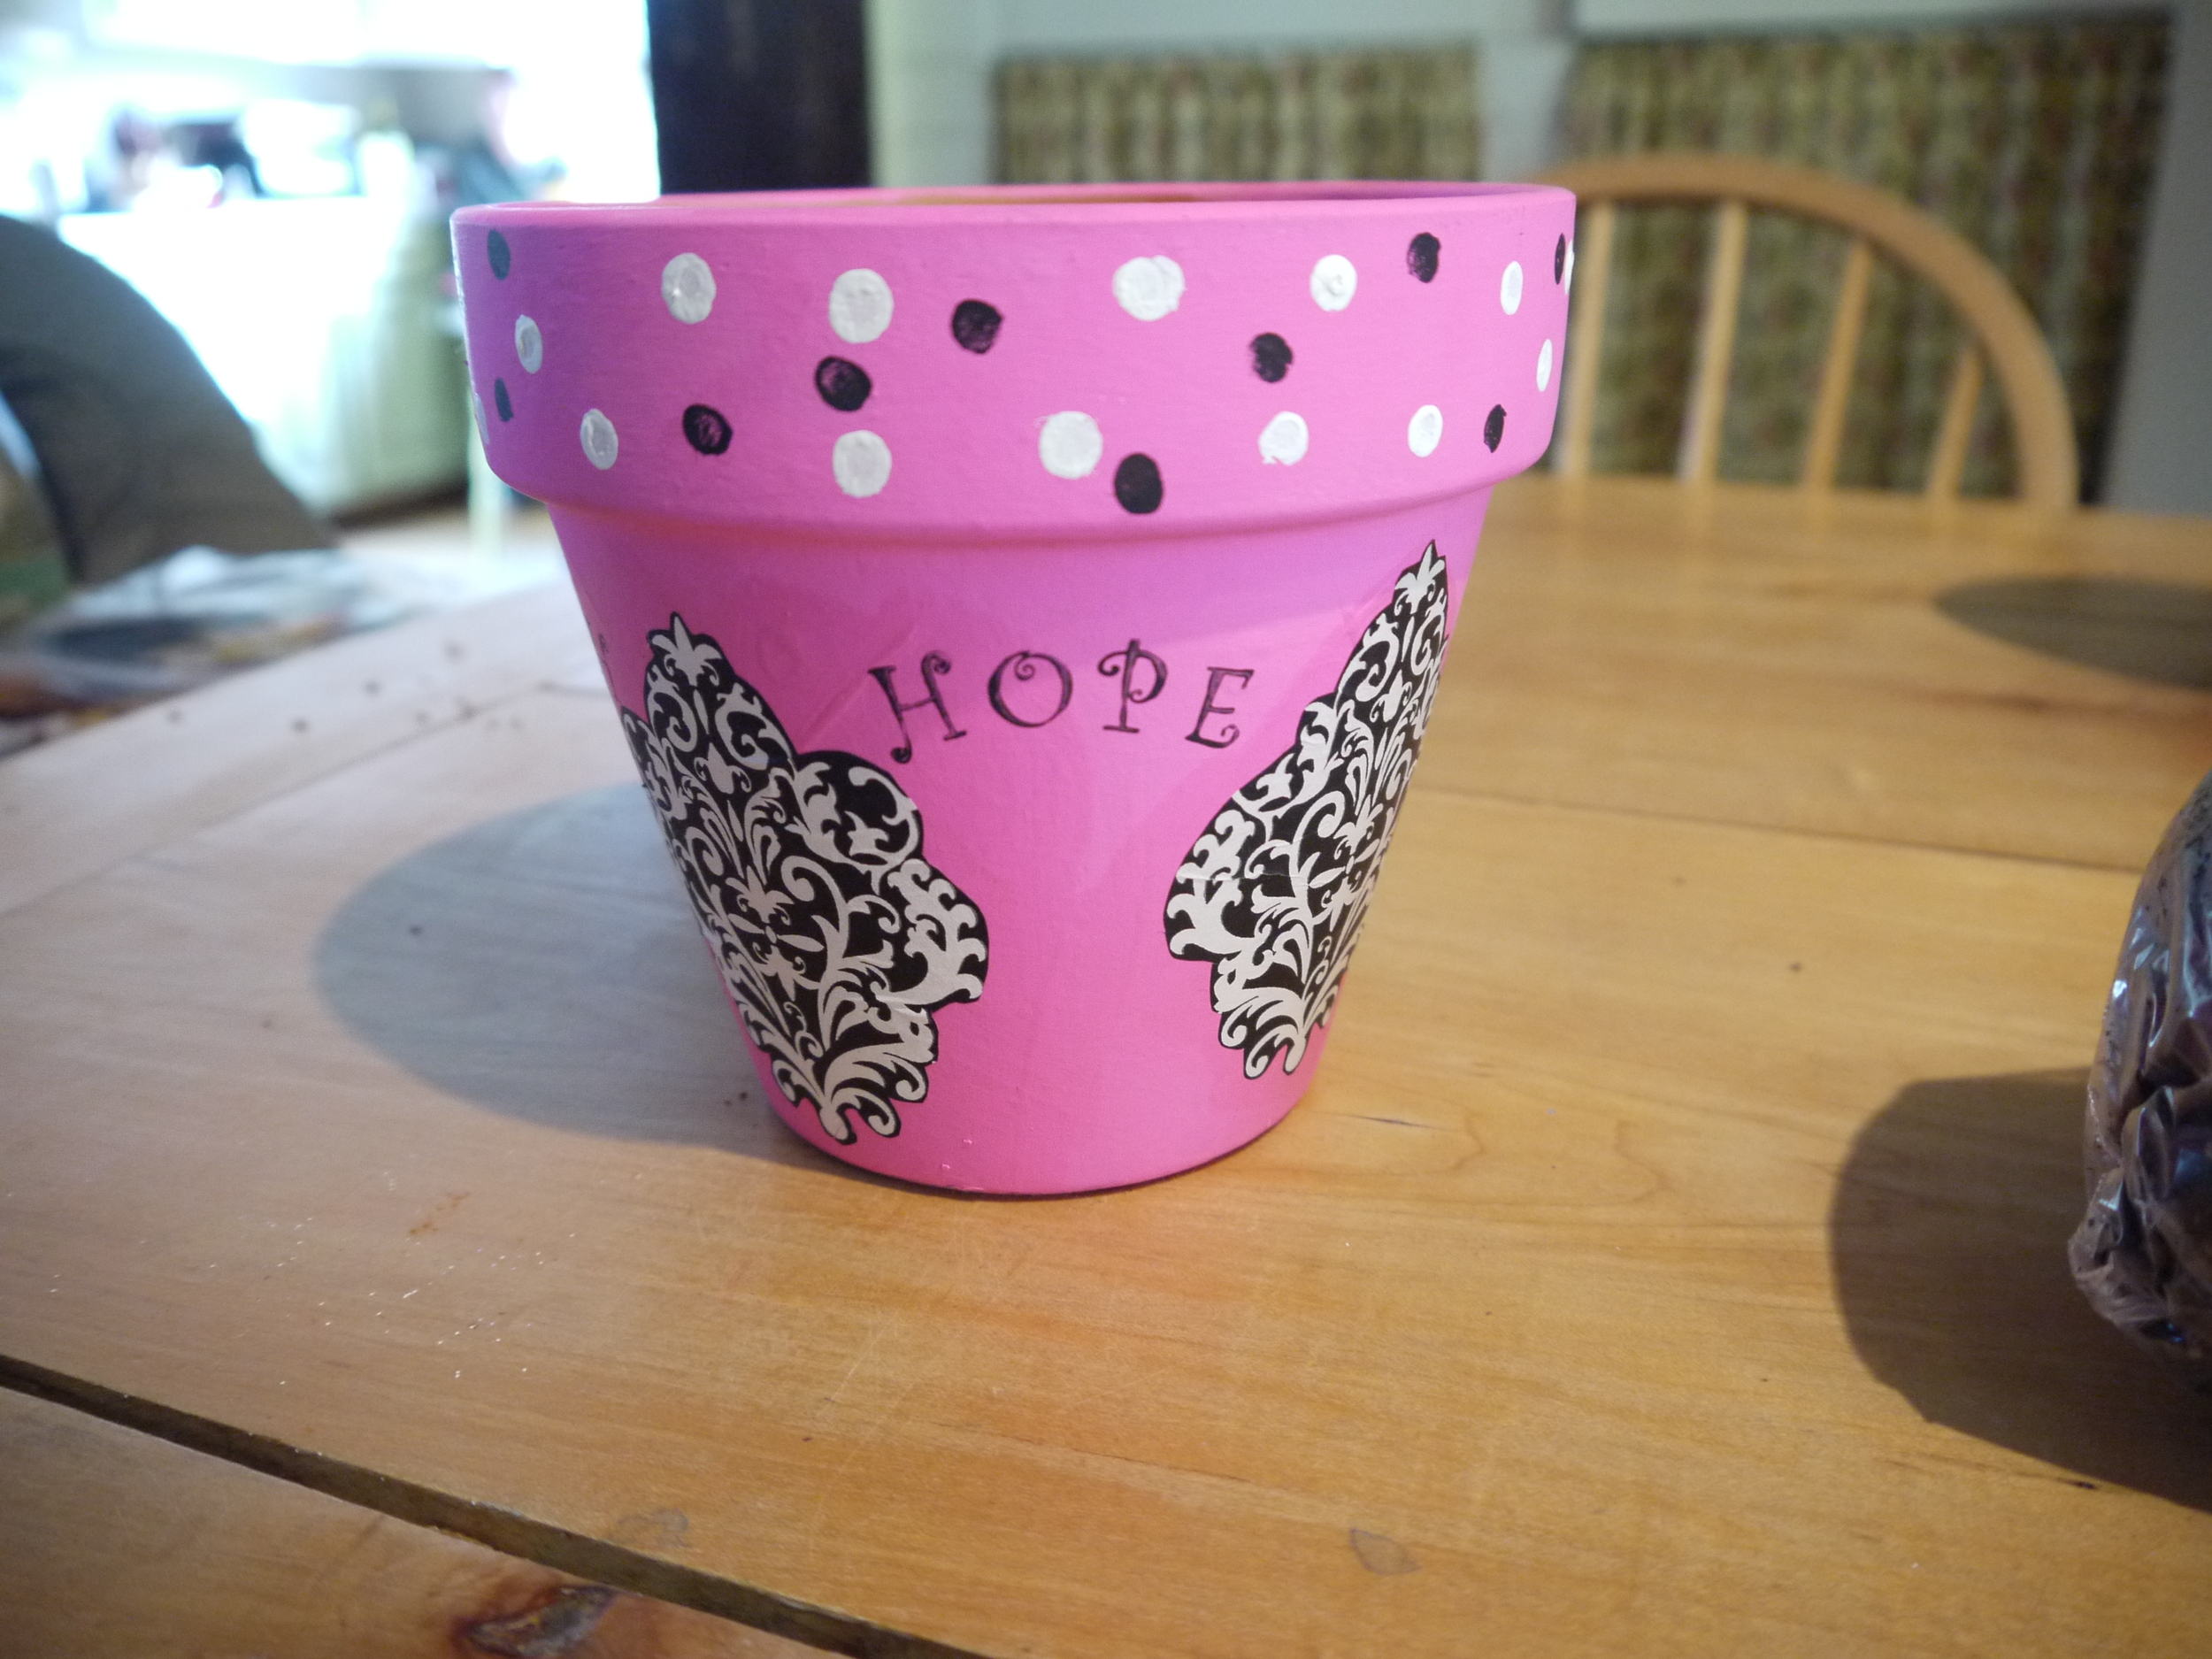
Then when the coat of paint is dry (it dries very quickly) put on a second coat if it is needed. If it isn't needed, you can just start decorating. You can add decoration with other colors of acrylics painting with reckless abandon, or if you are more of a reluctant creative, you can use pictures cut from magazines. Either way they turn out lovely. In the above photo, the flowers on the front pot are from magazines and the black and white scroll type design on the pink pot is from wrapping paper, see how easy this is? Cut your pictures out, trimming very closely. Then on a paper plate put some glue and add water to it to water it down. Using a paint brush, put the watered down glue on the back of the image and put it in place on the pot. Then brush the watered down glue all over the image (decoupage like). Don't worry, it will dry clear. You can also use Mod Podge for this but if you don't have any on hand, don't go spending money you don't have to, the glue works just fine. For the polka-dots we used pencil erasers or q-tips, either works.

For the words, we used rubber stamps dipped in acrylics or we just painted the words on with a paint brush.

After you have your pot looking like you want it to, put on a coat of some sort of sealer. If you only used acrylics on your pot, you may not need to do this step, but if you used any paper embellishments, definitely put on a coat of sealer. This is what we used:

While the sealer is drying you can bag up your potting soil. We used 1 Gallon Zip Lock Bags. Scoop in enough to just about fill the pot and seal the bag.
Then put your bulbs in a bag and print the tags. I made a PDF for you to print the tags which we used. The first two pages are the header tags for the bags of bulbs. There are two versions because I had small zip lock type bags on hand and they measure 4" wide by 7" tall (header card for these is on page 1 of PDF). Because most of you probably don't have those bags on hand, I made a header card which fits on a quart size zipper bag (pg.2 of PDF). The other two pages of the PDF are the planting instructions for you to include in the pot and the tag for you to tie on the outside of the gift. Print everything on cardstock if you have it. Paperwhite Bulb Kit PDF here.
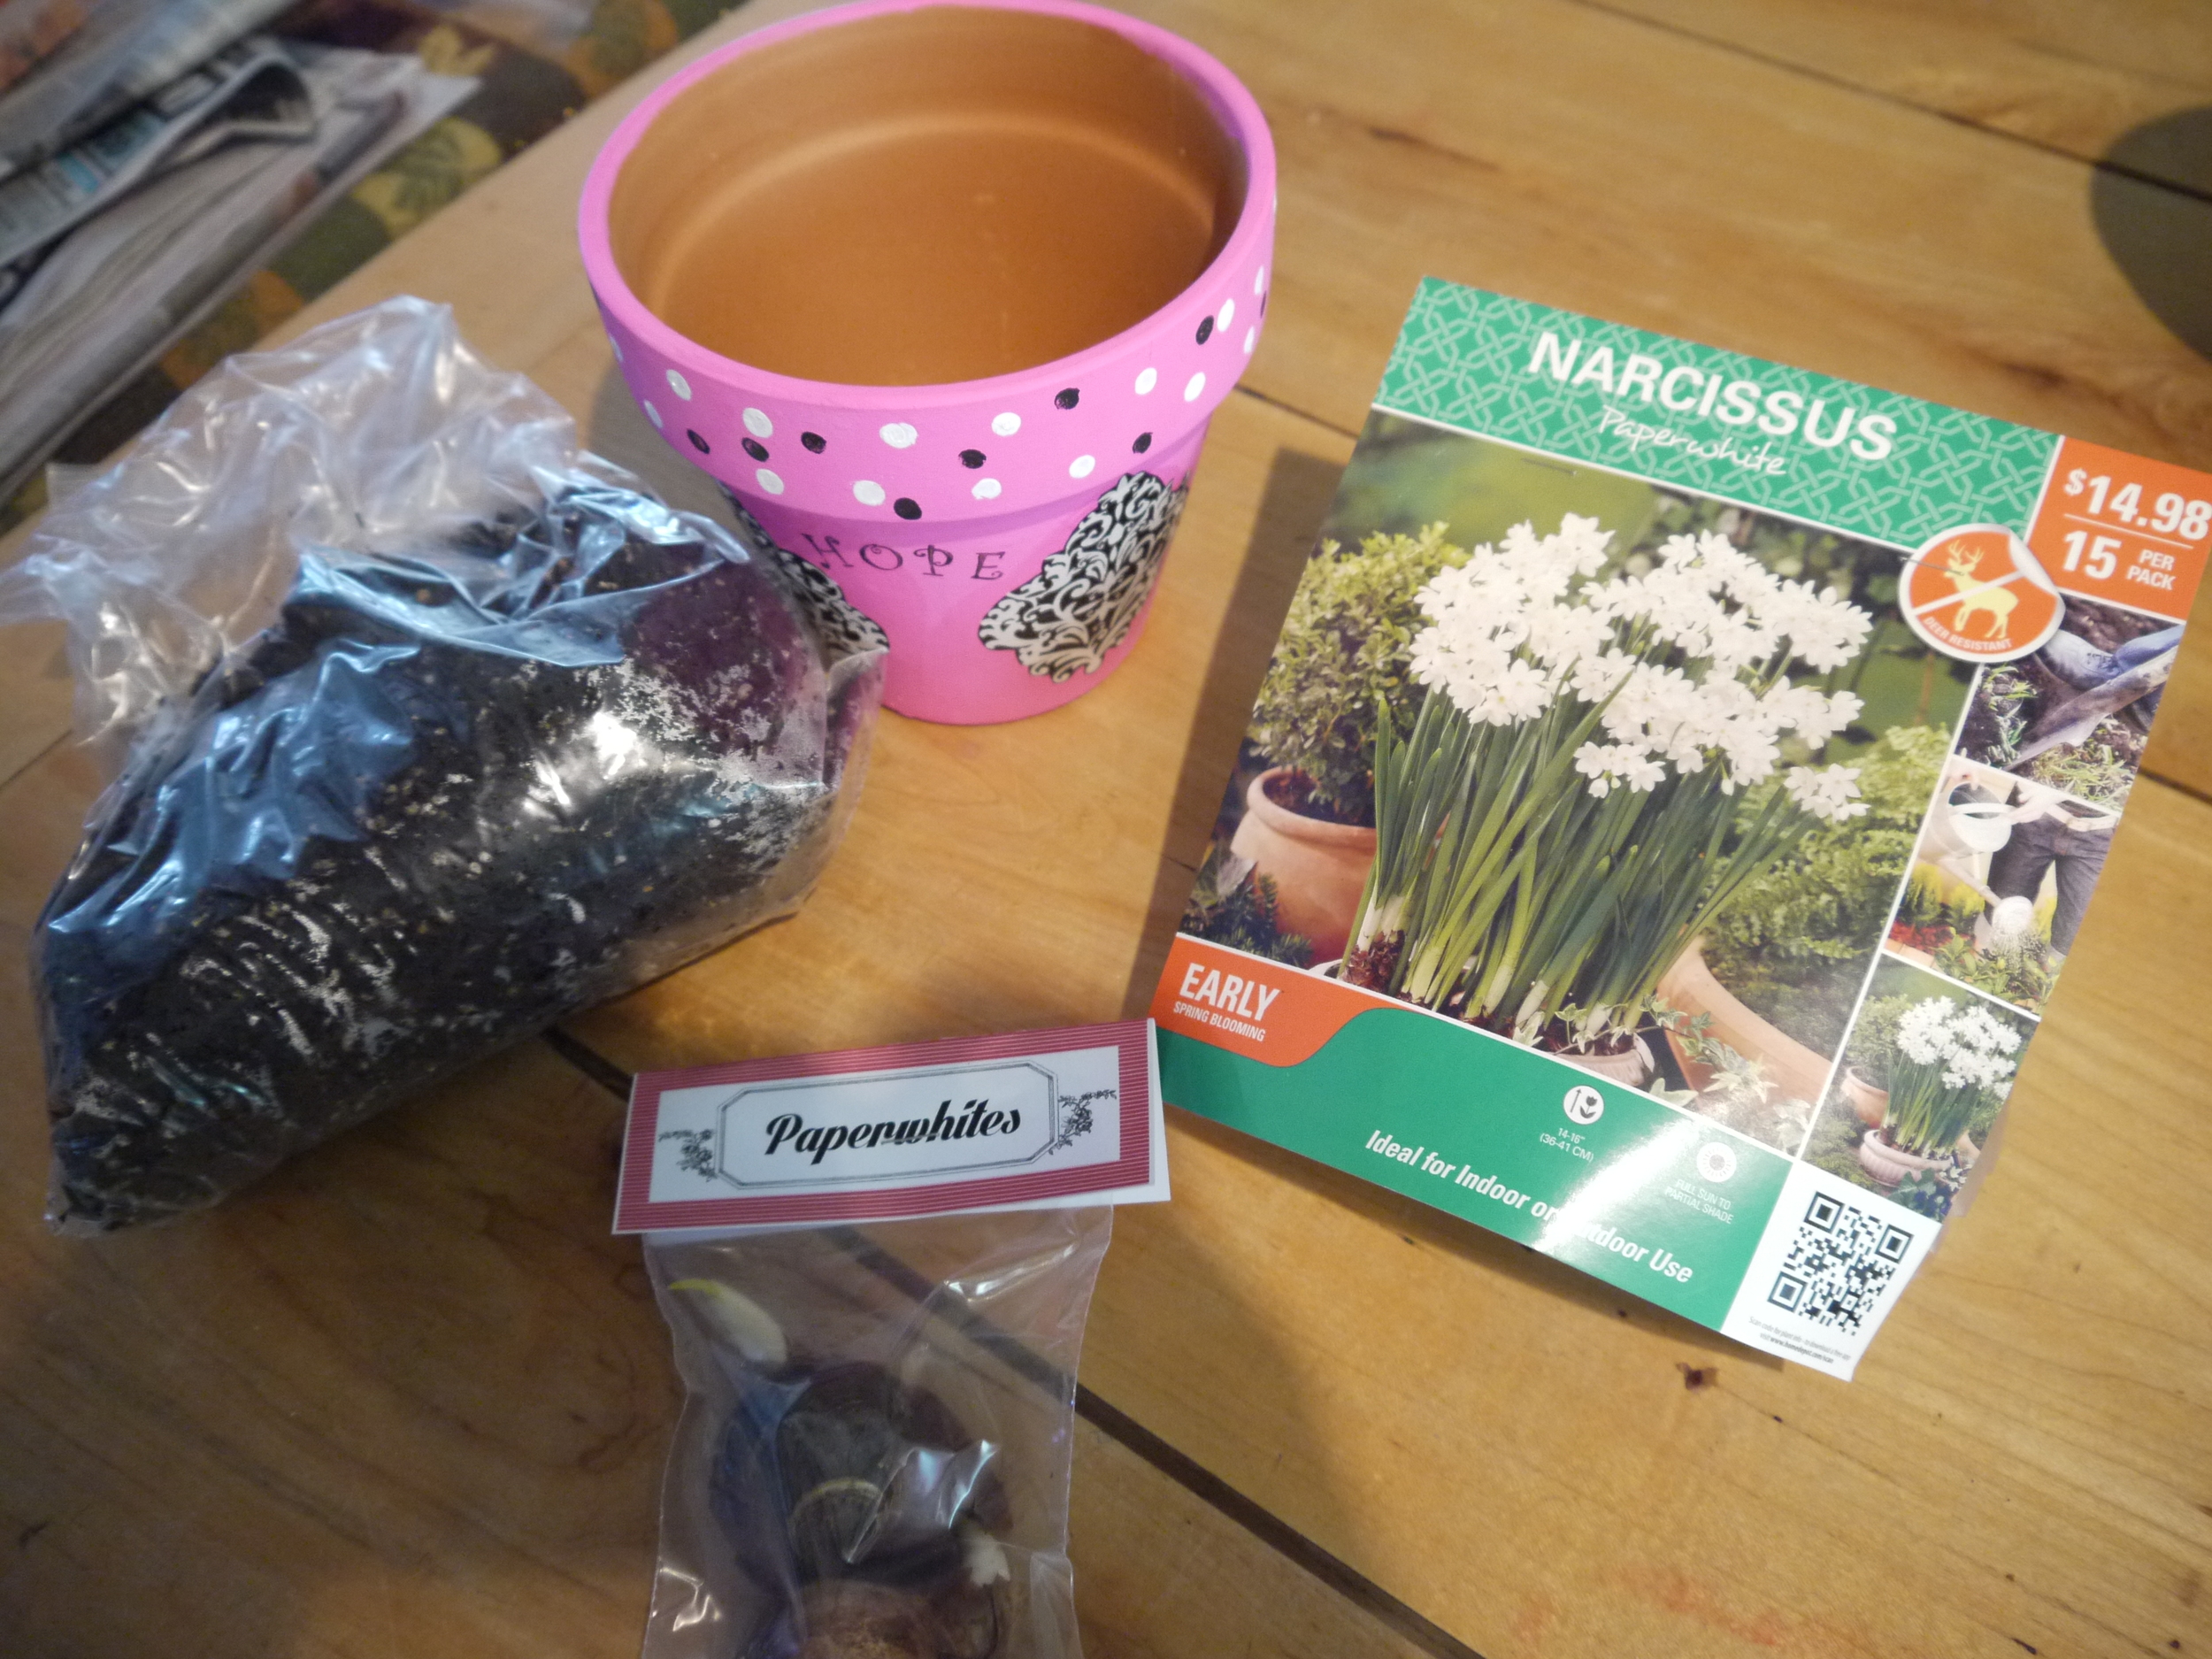
After the pot is completely dry you can put everything together. Put the potting soil bag in the pot, set the bag of bulbs on top of that, and put the card with the instructions in the pot. If you have cellophane on hand cut a long strip about twice as wide as the pot and long enough to tie together above it. Tie on a bow and the tag and then tape the edges. That's it, you have a lovely handmade gift.
If you have never grown paperwhites, you should give it a try this winter. It is just lovely to have beautiful blooms filling up the house in the dead of winter, they take 4-6 weeks to bloom so get them started now, come January you'll be so glad you did.
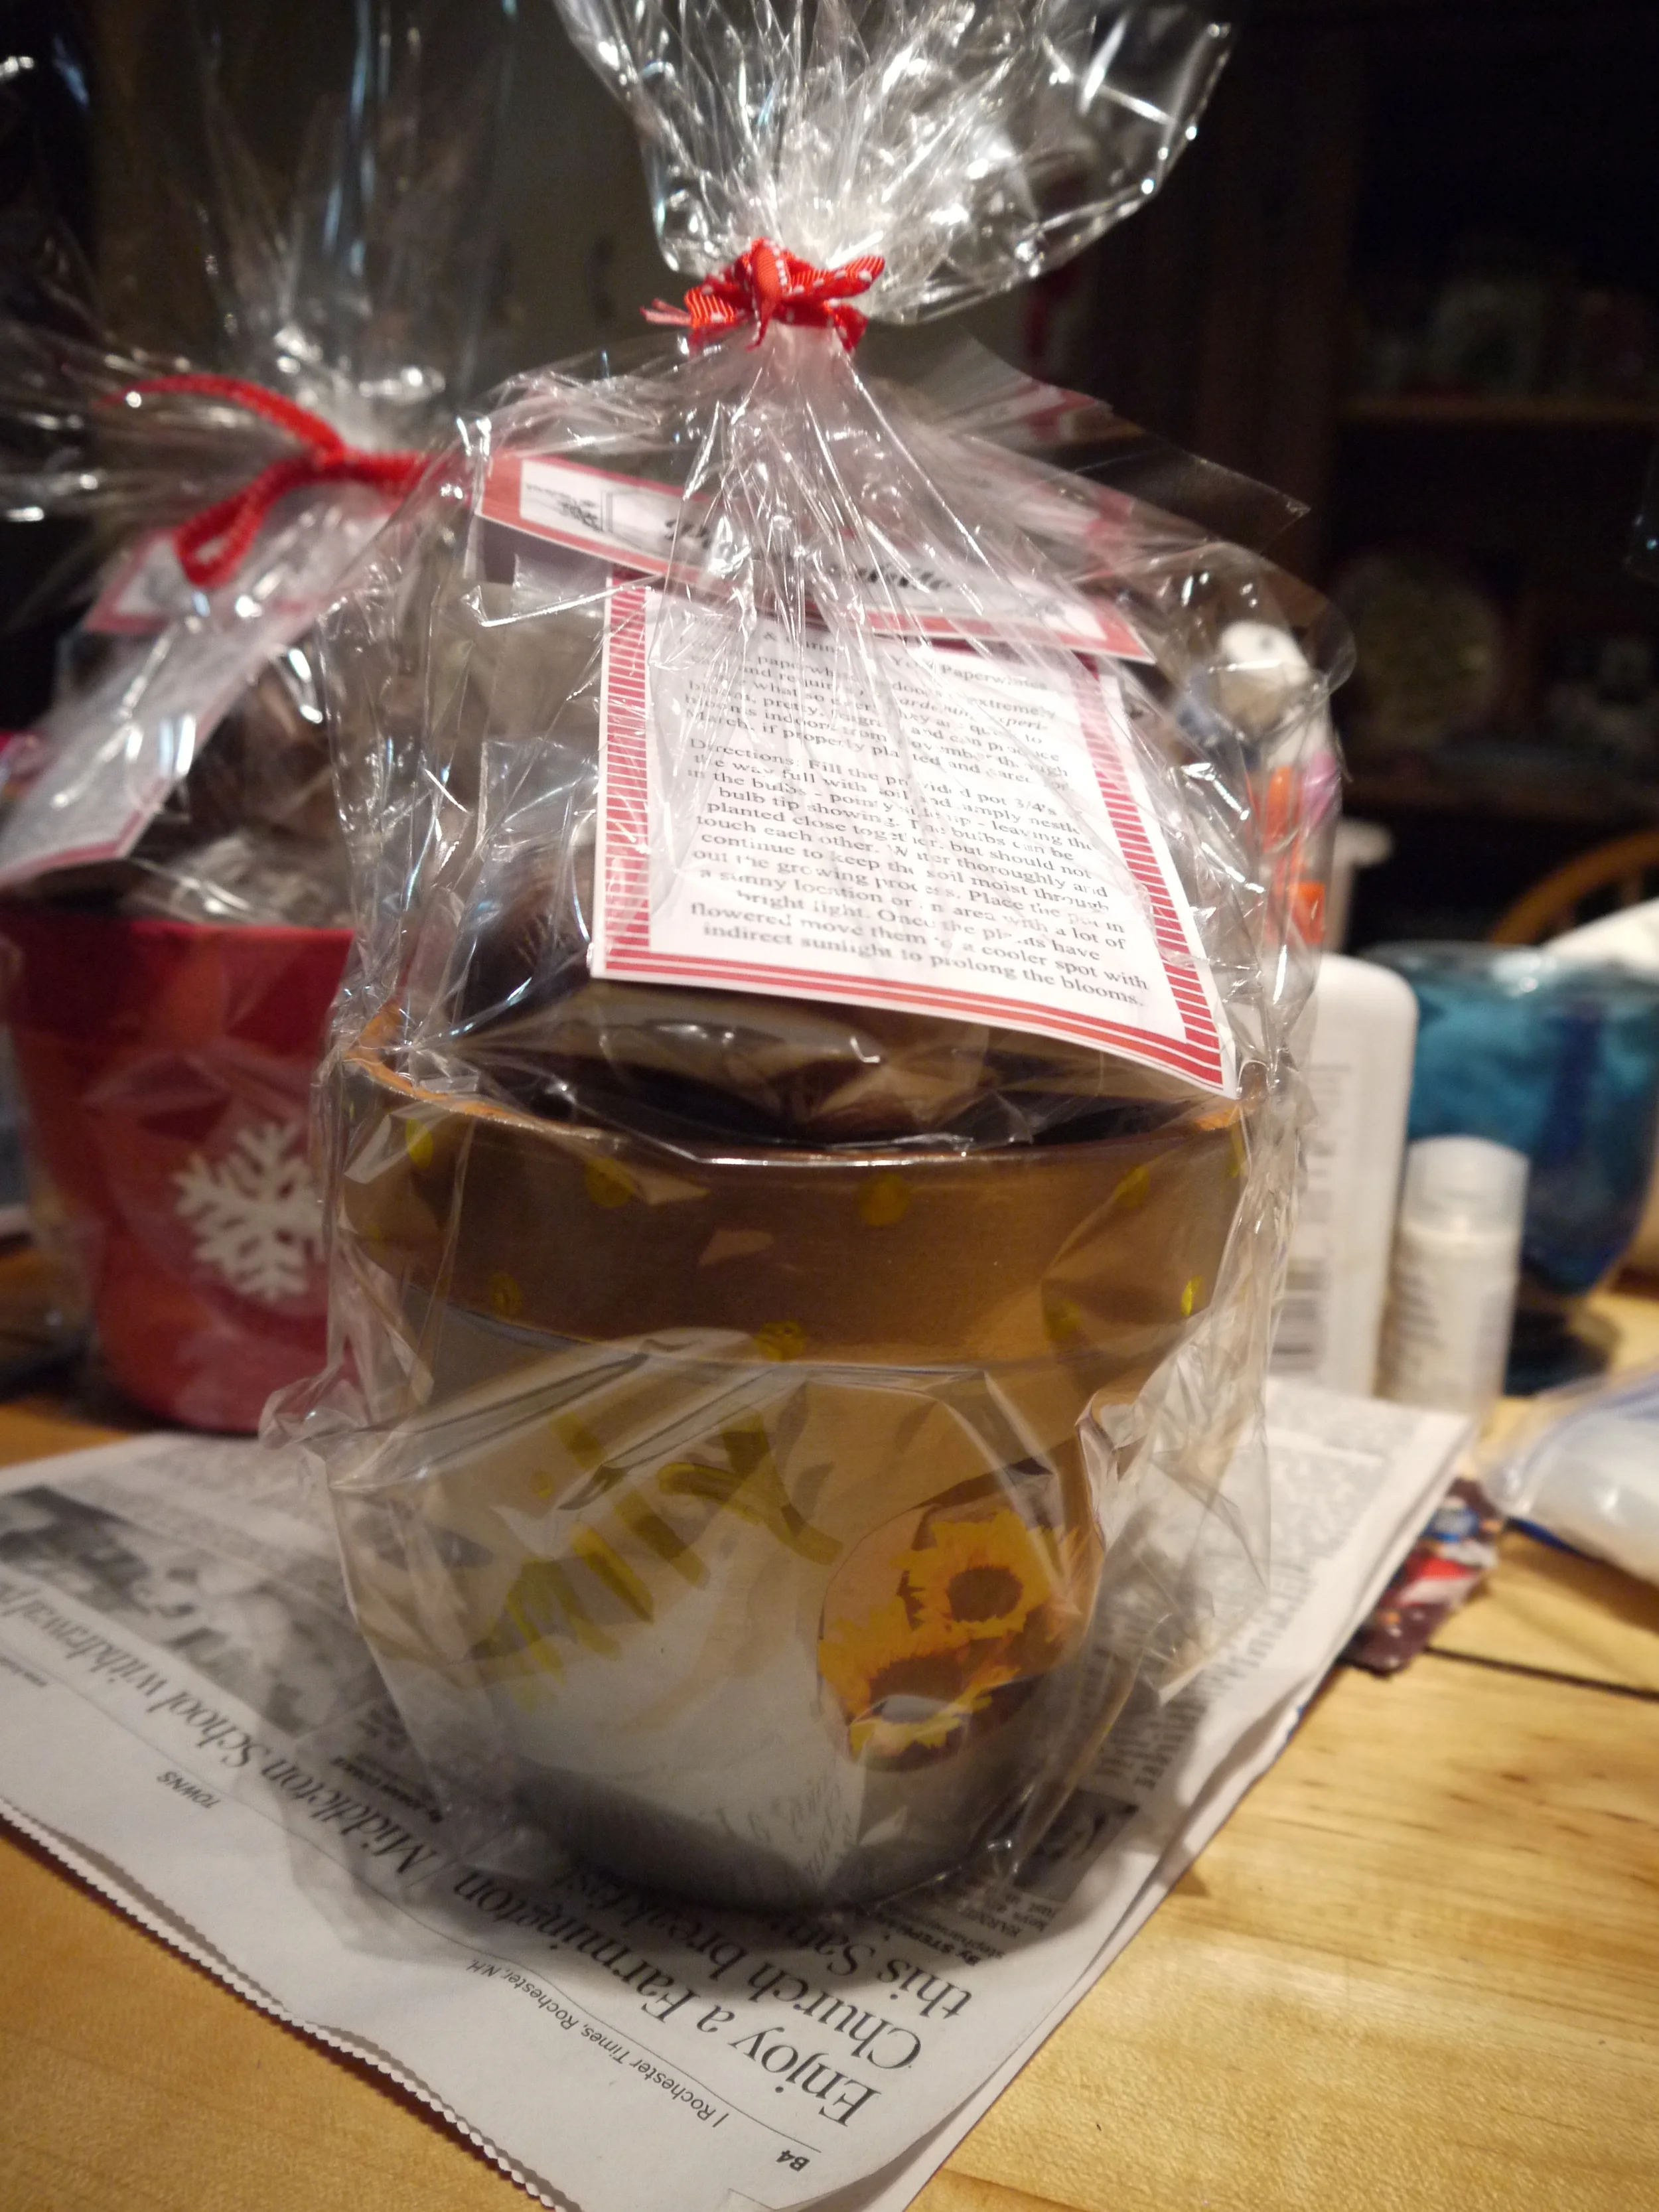

Now for the give-away...I made this lovely one so one of you lucky folks can enjoy your very own paperwhites come January.

The pot is a lovely bright red painted with glittery snowflakes. It comes complete with potting soil, bulbs, and instructions. It's all wrapped up in cellophane with a bow ready for you to enjoy yourself or give as a gift.


There are two ways to enter the giveaway, first, you can leave a comment below stating if you plan to grow these yourself or give the kit as a gift if you win. The second way to enter is to "like" the new Because Liada facebook page at www.facebook.com/becauseliada. All commenters and facebook "likes" will be entered into a hat and one winner will be drawn on December 10th, 2013. I will pay shipping for the Paperwhite Kit to anywhere within the continental United States. I will ship it elsewhere but the winner will have to pay shipping (via paypal) for locations outside the continental United States. Winner will be drawn on December 10th, 2013.
UPDATE: We drew a winner late last night and the winner has been notified. Once, they respond, we will announce the winner. Comments are being left on for this post in case anyone wants to comment on the tutorial, however, no additional comments will be entered in a drawing for the set. Thank you to all who entered.

This giveaway was listed at the following locations:

Check out what else you can win.